Price lists
Where: Pricing → Price lists
Before you begin
- Your website's Default currency is set correctly under Websites — it is the display currency everywhere.
- Customer groups exist if you plan to assign lists by group (see Customer groups).
- Go to Pricing → Price lists.
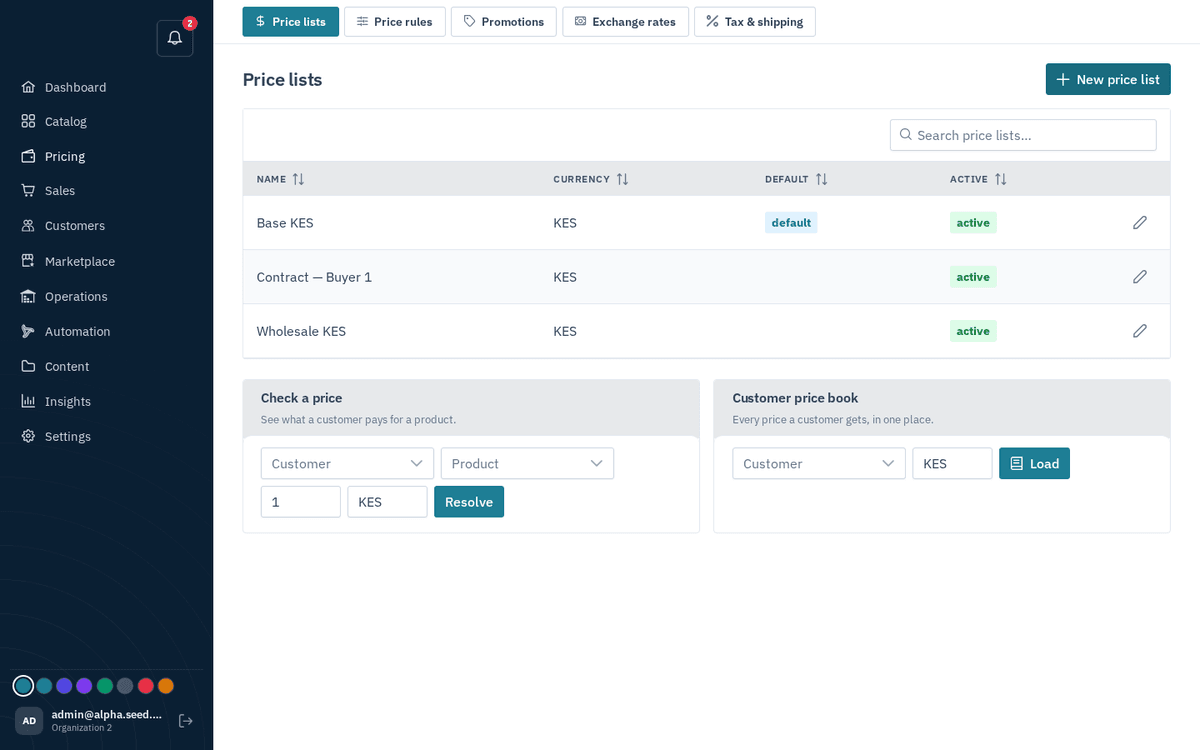
Pricing → Price lists — per-customer, per-group and website price books
- Press “New price list”. Fields: Name, Currency (3-letter) (defaults to your store currency), and the checkboxes Default list and Active. Save shows “Created”.
- Click the row to open the list’s detail page: the header shows the name and currency tag, an overview card (Default: yes/no, Active: yes/no), and two tabs — Prices (N) and Assignments (N).
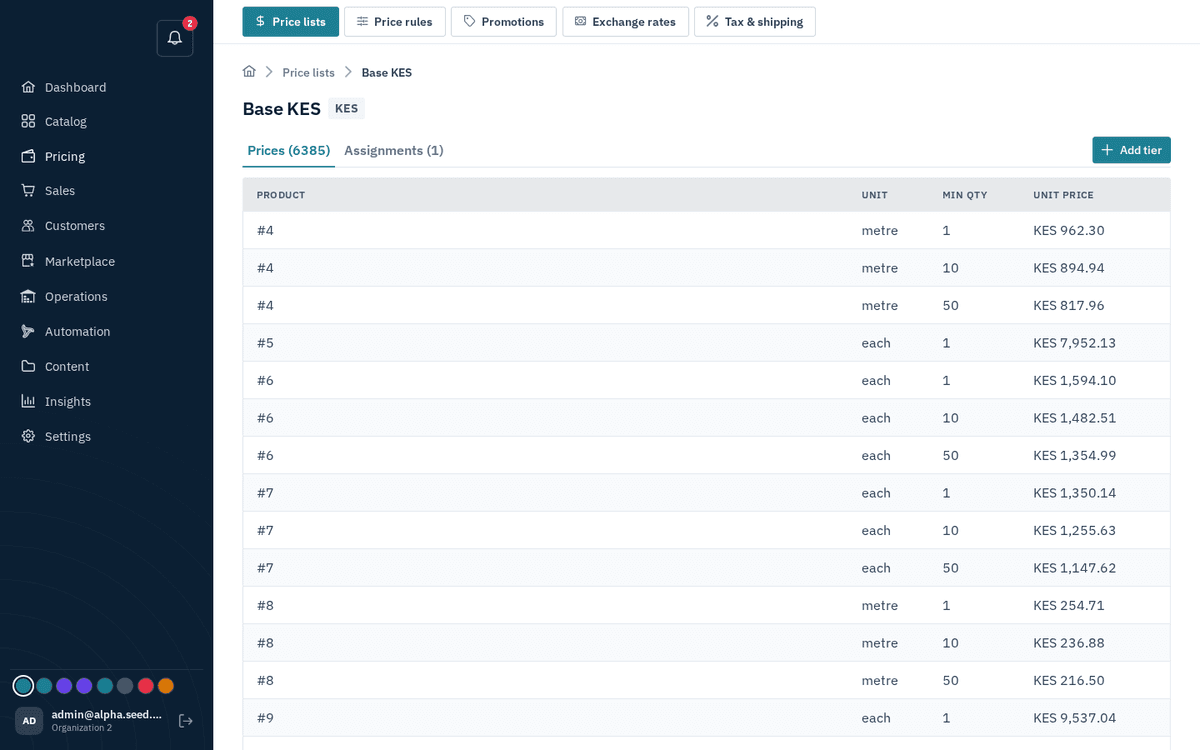
Inside a price list — volume tiers per product, plus the Assignments tab
Adding a price (tier):
- On the Prices tab, press the add button. The Add tier dialog asks for: Product (searchable), Unit, Min quantity, and Unit price.
- Save — toast “Tier saved”.
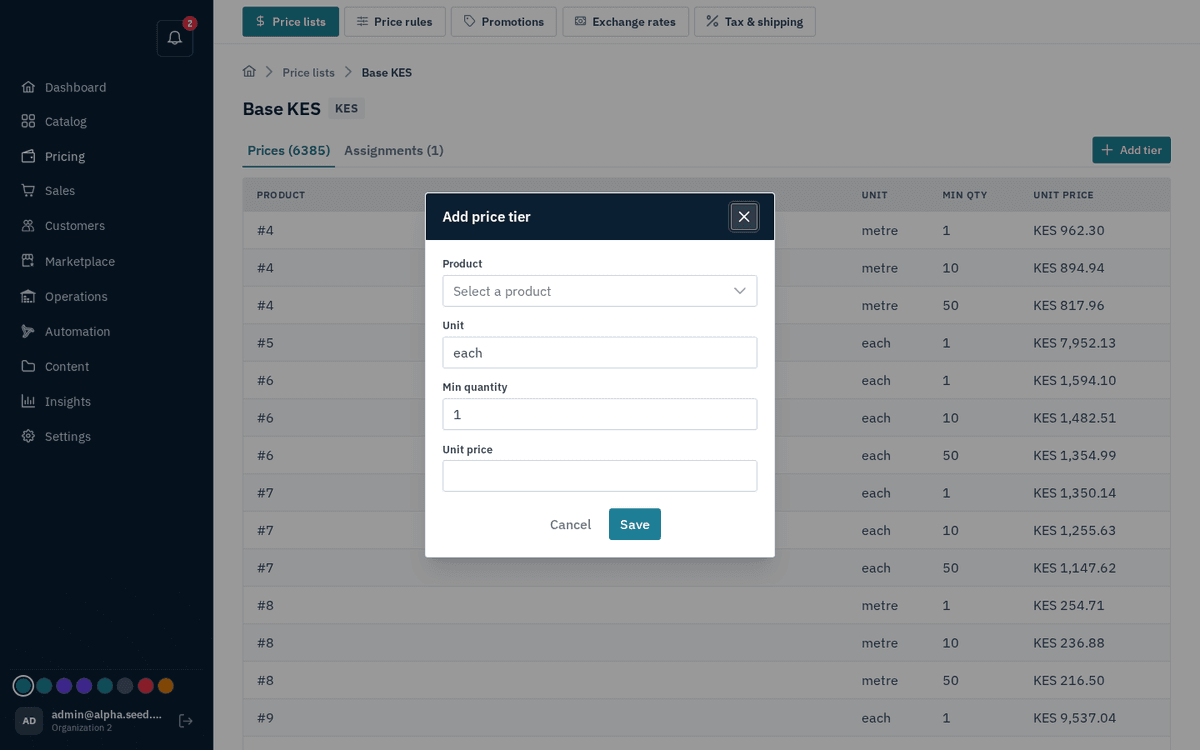
Add tier — product, unit, minimum quantity and unit price
Volume breaks are simply multiple tiers for the same product with different Min quantity values — e.g. min 1 at 5,000 and min 100 at 4,000. The buyer sees their tier table (“buy 100+ at X”) right on the product page.
Assigning the list to someone:
- Switch to the Assignments tab and press add. Choose the Target: customer, customer_group, or website; then pick the Customer (or enter the group/website ID), and set the Priority (higher wins within a level).
- Save — toast “Assignment added”. To remove one, confirm “Remove this assignment?”.
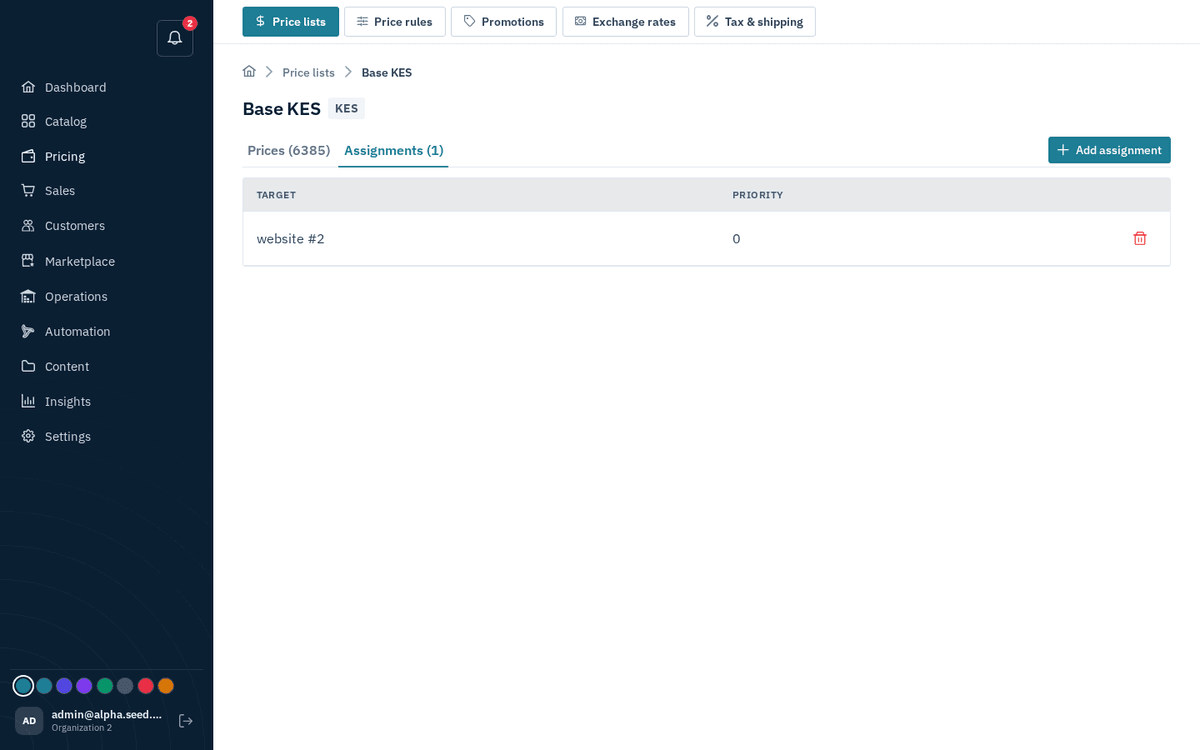
Assignments decide who this list applies to — customer, group or website
Until a list is assigned it applies to nobody — the empty state says exactly that: “No assignments — this list resolves to nobody yet.”
A buyer with no resolvable price for a product sees “price on request” on the storefront and can raise an RFQ instead — no price is never an error, it’s a sales opportunity (RFQs and quotes).