Importing data in bulk
Where: Settings → Import data (or Import on Catalog → Products)
The importer takes a CSV or Excel file and creates or updates records in bulk — products, and other record types too. Its safety net is the dry run: every row is validated and previewed before anything is saved.
Before you begin
- Download the Template for the record type first — column-name mismatches are the number-one cause of error rows.
- Attributes with validation rules are enforced on import exactly as in the product form.
- Partners pushing data need an API key scoped to
import.ingest(see API keys).
Preparing an import
- Go to Settings → Import data (or press “Import” on the Products page, which arrives here pre-set to products). The page intro reads: “Upload a CSV or Excel file to add or update records in bulk. Preview every row before anything is saved.”
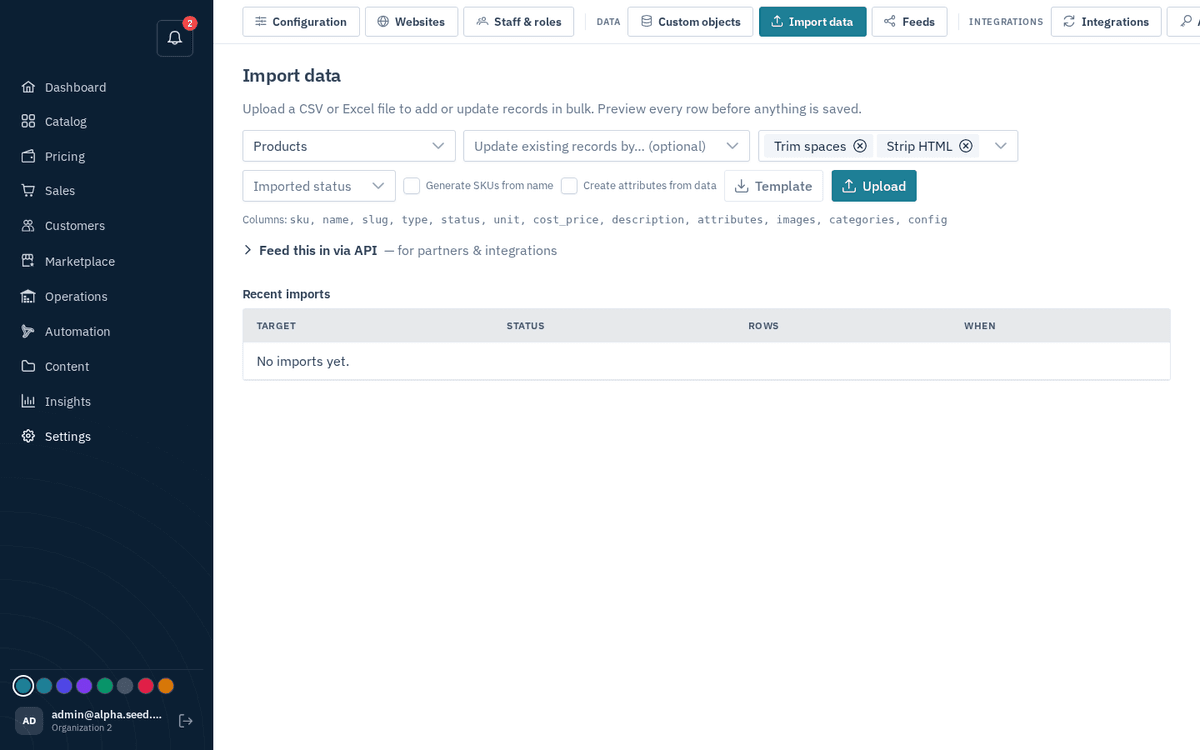
Import data — pick a target, download the template, upload CSV or Excel
- Choose “What are you importing?” — the target record type (e.g. Products).
- Optionally choose “Update existing records by… (optional)” — the match field. With a match field set, rows that match an existing record update it; without one, everything is created new.
- Optionally pick cleanup steps under “Tidy values (optional)”: Trim spaces, Strip HTML, Lowercase, Uppercase, Collapse spaces. These are applied to your data as it’s read.
- For product imports you also get: “Imported status” (Keep as draft / Set active / Set disabled), and two checkboxes — “Generate SKUs from name” and “Create attributes from data” (any unknown spec columns become attribute definitions automatically).
- Press “Template” to download a starter file with exactly the right column headers. The expected columns are also listed right on the page (for products:
sku, name, slug, type, status, unit, cost_price, description, attributes, images, categories, config).
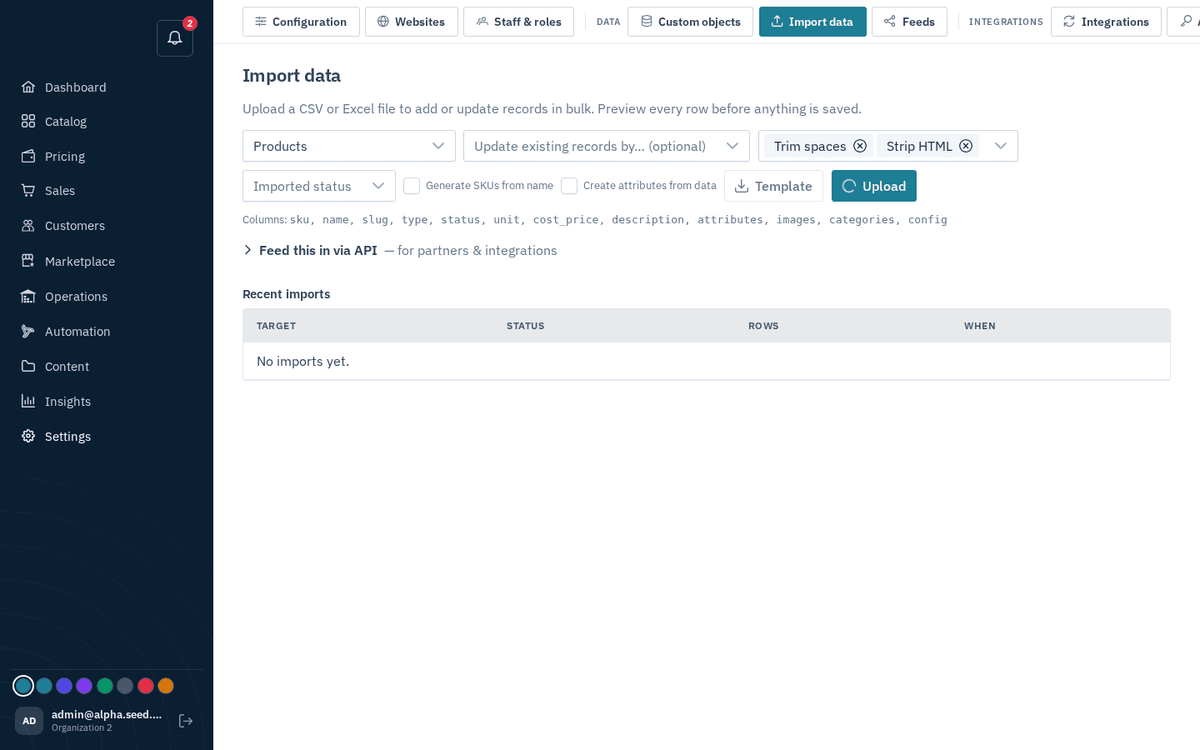
An import configured for Products — cleanup chips, template columns and options
Always start from the Template. Column-name mismatches are the number-one cause of error rows.
Unpaid invoices (receivables)
Pick Unpaid invoices (receivables) to bring in a defaulters list or an ERP ledger. Columns: customer, invoice, amount, currency, due_date, issued_date, accountant_name, accountant_phone, accountant_email, notes. The customer is created if it does not exist, past due dates arrive as overdue, and the accountant becomes the customer's billing contact so payment reminders reach them. The same customer and invoice number updates on re-import.
Aging statement (balances by customer)
Pick Aging statement (balances by customer) for a ledger export with one row per debtor: Customer Code, Customer Name, 0 - 30, 31 - 60, 61 - 90, 91 - 120, 121+, Balance Due, Comments — upload the sheet as exported. Each customer becomes one open statement balance aged by its oldest bucket; re-uploading a later statement updates balances and marks customers who are at zero or missing as paid. See AR aging.
The dry run
- Press “Upload” and pick your
.csvor.xlsxfile. The dry run starts immediately. Large files validate in the background with a progress bar — “Validating… N / M rows” — and the note “Runs in the background — you can leave this page.” - When validation finishes you get four stat tiles — Rows / Create / Update / Errors — and a preview table of the first 50 rows. Each row shows an outcome tag (create green, update blue, error red) and a Detail column with either the field summary or the exact error message.
- A banner reminds you: “Preview — nothing saved yet.” If there are error rows, it adds: “Rows with errors are skipped on commit.”
Fixing error rows
Error rows tell you exactly what’s wrong (a missing required field, a value that fails an attribute’s validation rule, a duplicate). You have two options:
- Fix the rows in your spreadsheet and Upload again (each upload is a fresh dry run), or
- Commit anyway — the good rows import, the error rows are skipped, and you can re-import just the fixed rows later (set the match field so they update rather than duplicate).
Committing
- Press “Commit import” — it’s only enabled when the dry run validated and there’s at least one row to create or update. An “Importing…” progress runs, then the toast “Imported N rows” confirms. If the run fails outright, a banner shows “Import failed: ‹error›”.
- The Recent imports table at the bottom keeps a history: Target, Status, row counts (created · updated · errors), and when it ran.
The partner API panel
At the bottom of the page, the collapsible panel “Feed this in via API — for partners & integrations” is for suppliers and systems that should push data to you directly instead of emailing spreadsheets. It shows the ingest web address to POST to, a field contract table (Field / Type / Required / Rules), and a ready-to-copy command sample. The partner needs an API key scoped to import.ingest — create one in Settings → API keys (Settings) with only that scope, and the partner can feed validated data straight in, with the same validation rules as your own uploads.
Keys are least-privilege: a key scoped only to import.ingest can do nothing else.