Checkout
Where: Checkout from the cart
Before you begin
- Your company's default shipping and billing addresses are on file, or have the new address ready.
- You know your PO number and cost center if your finance team needs them.
Checkout step 1 — Order details
Checkout is a three-step wizard: 1 Details, 2 Shipping, 3 Review. Every field in step 1 is optional, but your finance team will thank you for filling them.
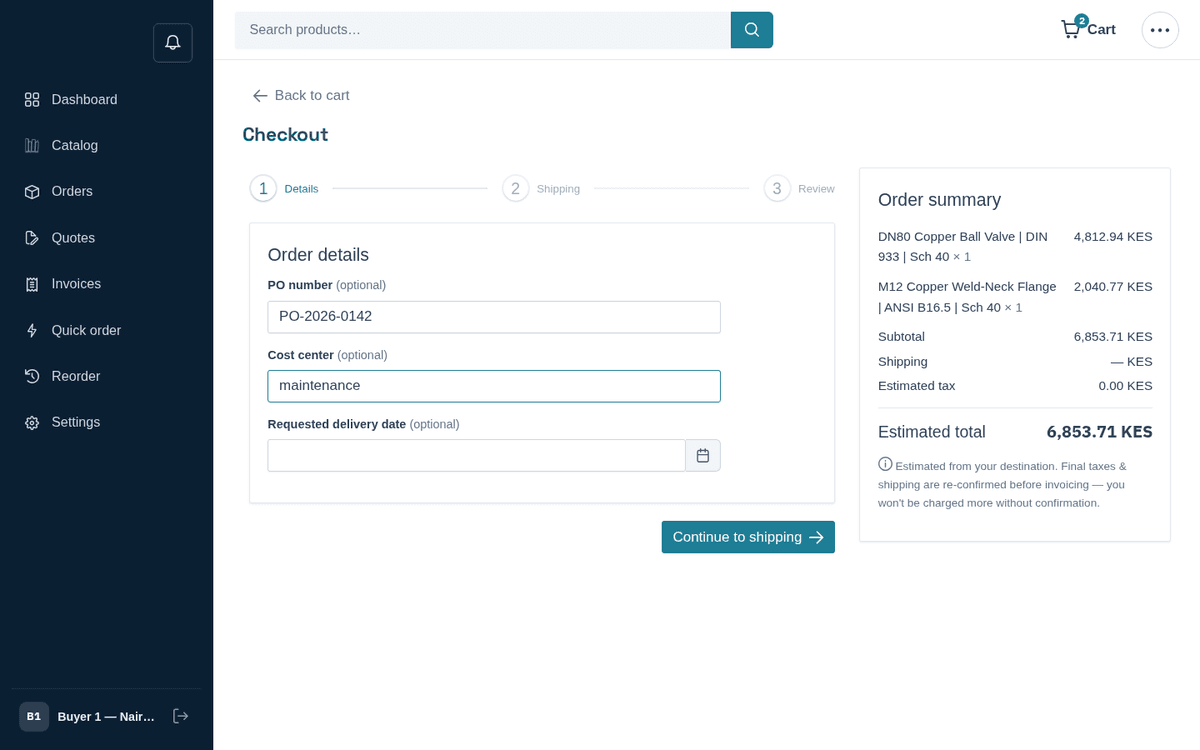
Checkout step 1 — order details: PO number, cost center, requested delivery date
- PO number (optional) — your company’s purchase-order reference (e.g. “PO-1234”). It follows the order onto documents and invoices, so your accounts-payable team can match them.
- Cost center (optional) — which internal cost center this spend belongs to (e.g. “maintenance”). If your company uses budgets (Recurring orders, budgets and rebates), spend is metered against the budget for this cost center.
- Requested delivery date (optional) — the earliest you’d like delivery; the picker won’t accept past dates. This is a request the seller sees, not a guarantee.
- Press Continue to shipping.
Throughout checkout, the sticky Order summary card on the right lists every line, the Subtotal, Shipping, Estimated tax and the Estimated total, with the note: “Estimated from your destination. Final taxes & shipping are re-confirmed before invoicing — you won’t be charged more without confirmation.”
Checkout step 2 — Shipping
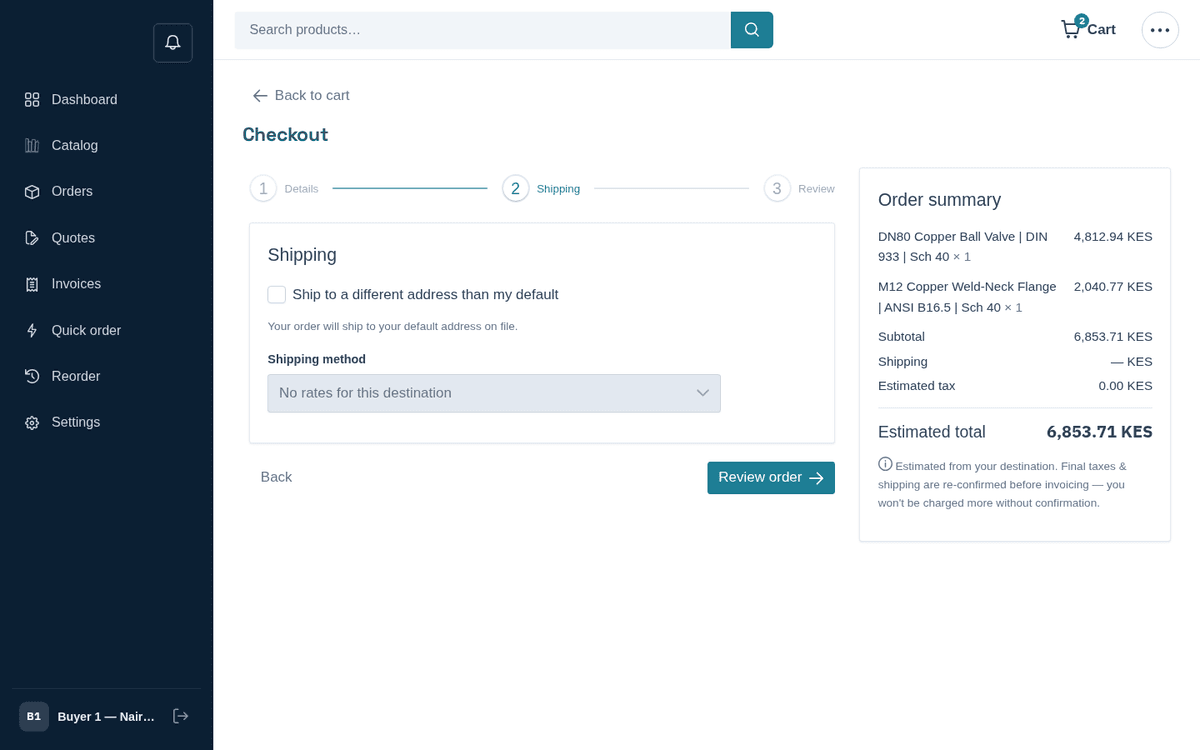
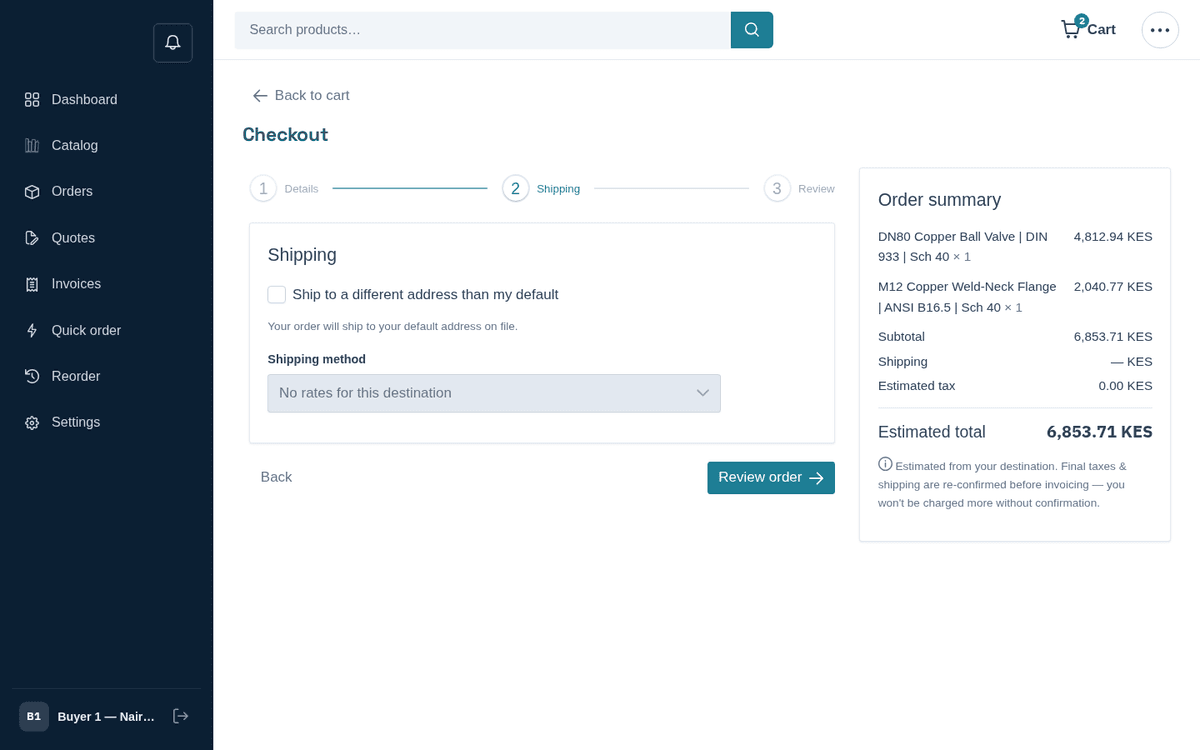
Checkout step 2 — shipping: use your default address or enter a new one, then pick a method
- By default the order ships to your company’s default address: “Your order will ship to your default address on file.”
- To ship elsewhere, tick Ship to a different address than my default. You can then either Choose a saved address from your company’s saved shipping addresses, or pick “Enter a new address…” and fill in Address line 1, Address line 2 (optional), City, Region (optional), Postal code (optional) and Country (the 2-letter code, e.g. “KE”).
- The Billing address is the same as shipping checkbox is ticked by default; untick it to choose or enter a separate billing address.
- Pick a Shipping method. The store fetches a live estimate for your destination and lists options like “‹service› — Free” or “‹service› — ‹amount›”. Until a destination is known it shows “Enter a destination to see options”.
- Press Review order (or Back to change details).
This means the seller has no shipping rate configured for the destination country. It does not necessarily block the order — you can proceed and the seller confirms shipping before invoicing — but if you want a priced option, double-check the country code, try your default address, or message the seller (Getting help). This is common for new or unusual destinations.
Checkout step 3 — Review & place
Checkout step 3 — review everything, then press Place order
- The Review & place panel recaps your PO number, Cost center, Requested delivery, Ship to and Subtotal.
- Read the note: “Placing this order requests it at the subtotal above. Final taxes & shipping are confirmed by your sales rep before invoicing.”
- Press Place order. On success you land directly on the new order’s tracking page.
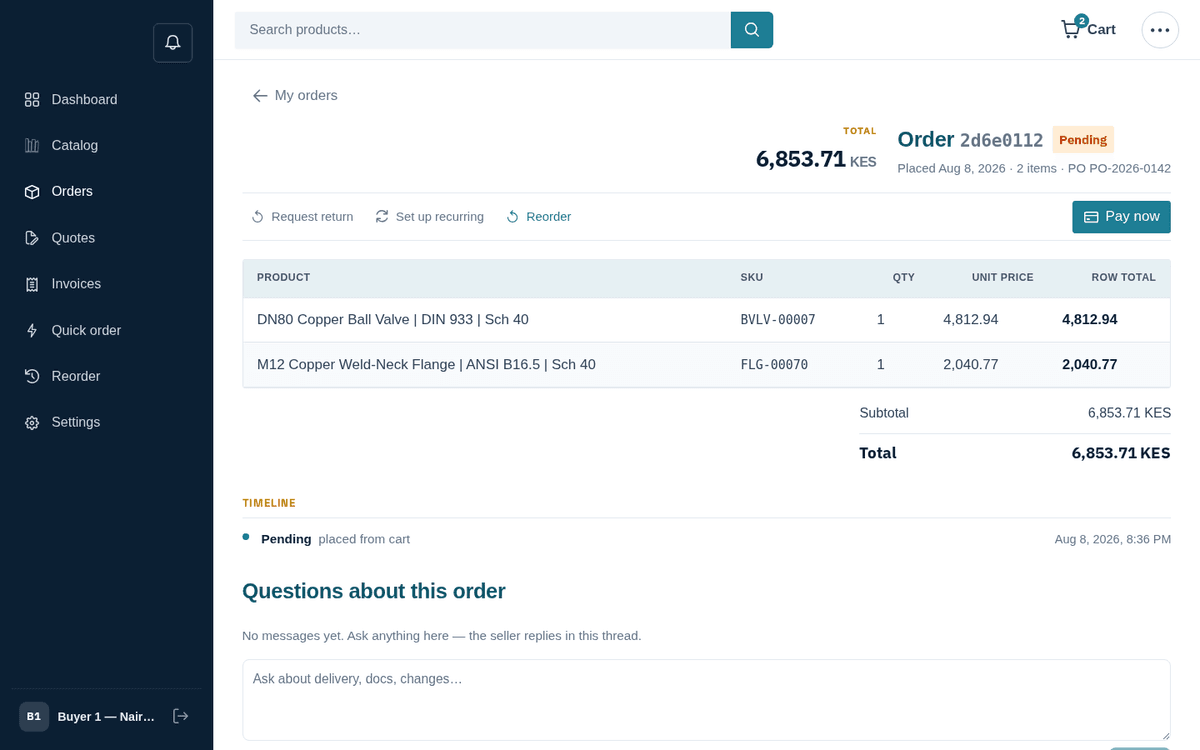
Order placed — you land straight on the order tracking page
If placing fails, the message on screen explains why — this is where a blocked budget or an over-limit hold surfaces (see chapters 9 and 10). A generic failure reads “Could not place your order. Please check your cart and try again.”
“On account” — what happens to payment
Notice that checkout never asked for a card. That’s deliberate: placing an order puts it on your company’s account, under the payment terms your company agreed with the seller (for example, net 30 days). The flow is:
- You place the order — no money moves.
- The seller confirms, fulfils and ships it.
- The seller issues an invoice with a due date matching your terms.
- You pay the invoice — by bank transfer per your usual process, or right in the storefront by card or mobile money (Invoices and payment). If you prefer, unpaid live orders also carry a Pay now button that pays by card and produces the invoice immediately.
Your company’s Payment terms and Credit limit are visible read-only under Settings → Company.